Espresso: How to Pull the Perfect Spot
Introduction
The Basics of an Espresso: Before the Pull
Why The Grinder Matters
If you’re ready to elevate your espresso game, let’s start with the foundation: the grind. Grinding your beans might seem simple, but trust me, it’s one of the most important steps to getting that perfect shot. Let’s dive into why grind size matters and why not just any grinder will do the job.
The Grind Size: Why It Matters
Espresso requires a very specific grind size—fine, but not so fine that it clumps together like powdered sugar. Think of it like the texture of sand. This size allows water to pass through the grounds at just the right speed, extracting all the bold flavors without bitterness.
If your grind is too coarse, the water will flow through too quickly, leaving you with a weak, watery shot. Too fine, and the water struggles to get through, leading to over-extraction and a bitter taste.
Why You Need a Burr Grinder
Here’s the deal: not all grinders are created equal.
Those inexpensive blade grinders at big-box stores might work for drip coffee, but they’re a no-go for espresso. Blade grinders chop the beans unevenly, leaving you with a mix of coarse chunks and fine powder. This inconsistency wreaks havoc on your espresso shot, making it nearly impossible to get the balance right.
The burr grinder is what you want. It uses two abrasive surfaces (the “burrs”) to crush the beans to a consistent size. You can adjust the settings to get the perfect grind for espresso (for me, this is typically between a three and five), and you’ll get uniform particles every time. It’s worth investing if you’re serious about making top-notch espresso at home.
Choosing the Right Burr Grinder
When shopping for a burr grinder, look for one with a fine grind setting specifically for espresso. Manual grinders can work if you’re on a budget or enjoy the process, but an electric burr grinder will save you time and effort—especially if you’re making multiple shots. Some popular options include brands like Baratza, Breville, or Eureka, known for their high-quality grinders. I recommend this one because it’s economical and does a great job.
Dosing the Espresso
Now that you have the perfect grind, it’s time to talk about dosing. For a double shot of espresso, you’ll want 18 grams of ground coffee in your portafilter. This precise amount ensures that your espresso is neither weak nor overpowering—it’s the sweet spot for balance and flavor.
Why a Scale is Essential
Eyeballing the amount of coffee might work for a casual cup, but for espresso, precision is key.
A digital kitchen scale is your best friend here. There are great ones specifically for making espresso, although it is an investment. It’s helpful because the scale can get wet, which others cannot.
Place your portafilter on the scale, tare it to zero, and grind your beans directly into the basket until you hit 18 grams. This method ensures consistency and helps you dial in the perfect shot every time.
A Few Tips for Dosing Success
- Distribute Evenly: As the grounds fill your portafilter, give it a little shake or tap to distribute the coffee evenly. This will make leveling and tamping much easier.
- Keep it Clean: Always check the edges of your portafilter for stray grounds before you move on to tamping. A clean edge ensures a proper seal and prevents water from leaking during brewing.
Leveling and Tamping
Now that your portafilter has 18 grams of perfectly ground coffee, it’s time to level and tamp. These steps ensure an even extraction, giving your espresso that velvety, rich taste.
Leveling the Grounds
Before you start tamping, it’s important to level the coffee grounds and ensure it is evenly distributed across the portafilter basket.
You can do this by lightly tapping the sides of the portafilter or using a leveling tool if you have one. The goal is to avoid any uneven pockets of coffee, which can lead to under-extracted or over-extracted spots in your shot.
Tamping the Espresso
Hold your tamper between your index finger and thumb. Stand perpendicular to the portafilter and place your tamper into the basket. Lightly lean into the tamp using gentle pressure.
Aim to tamp with the same force each time you make espresso to ensure consistency. If you are concerned about this, you can purchase a weighted tamper. A good tamp creates a smooth, compact surface for the water to flow through evenly.
Once you’ve tamped, ensure the coffee is level, and the surface looks polished. You’re now ready to brew your espresso!
Pulling Your Espresso Shot
Connect the portafilter to the group head of your espresso machine. Most group heads require you to align the portafilter with the machine’s opening and rotate it to lock it in place.
Some machines lock from the left, while others lock from the right, so refer to your machine’s manual if you’re unsure. The key is to ensure the portafilter is firmly secured for even water flow.
Water quality
Fresh water is crucial for a great espresso. Since water is the main component of your shot, using filtered, clean water ensures the best flavor. Skip the tap water if it’s hard or has an off taste—it will impact the final product.
Ratio for the shot
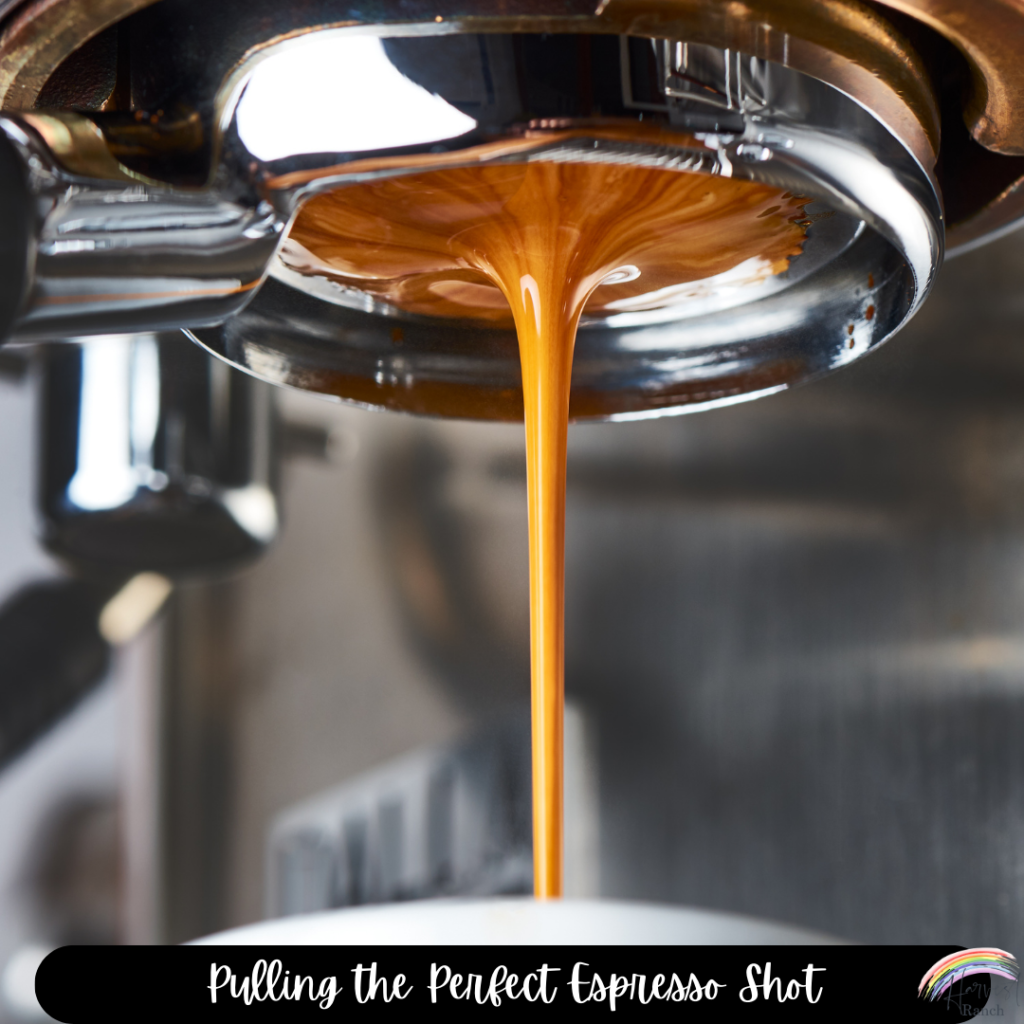
When you’re ready, start the extraction. Aim for 36 grams of liquid espresso in about 30 seconds. This timing ensures the coffee grounds are fully saturated and extracted without bitterness.
You have some wiggle room—a five-second window on either side is acceptable. If your shot is too fast or slow and you know that you have done precisely 18 grams in, you may need to adjust your grind size to find the sweet spot.
- Too fast? Grind smaller
- Too slow? Grind larger
Prep for your next shot of espresso
We’ll talk about milk steaming in a separate post, but let’s focus on cleaning up and getting ready for your next shot.
As soon as you finish brewing, remove the portafilter from the group head and knock the espresso puck out into a knock box.
A knock box is essential because it allows you to dispose of the espresso puck without contaminating the portafilter. Putting the portafilter directly into the trash can exposes it to germs and oils that you don’t want to contaminate your next shot of espresso.
If you compost, your used espresso puck is a great addition! It’s also perfect for sprinkling directly onto acidic-loving plants like roses, azaleas, and blueberries as a natural fertilizer.
After emptying the puck, clean the portafilter with a damp cloth to remove any remaining coffee grounds. Once cleaned, place it in its designated spot, ready for subsequent uses.
Taking care of your tools ensures your espresso-making process stays consistent and hygienic. Plus, it keeps your machine in excellent condition for the long haul. Cheers to your perfectly pulled shot and an organized, ready-to-go setup for your next one!